Connecting Premier

1. Log into your Premier portal account using the credentials you received from your Premier representative.

2. Go to the ‘My Data’ menu and select ‘Custom Data Feed’.  

If you do not have this menu, please contact your Premier representative to have it enabled.

Data Here-to-There Inc. | Connecting Premier

3. Select the “Standard” option.

Data Here-to-There Inc. | Connecting Premier

4. Scroll down to the vendors section.  Press the “>>” button to include all brands in the data feed.  

Data Here-to-There Inc. | Connecting Premier

5. Select the Stocking filter and press the “>” button. 

Note that at the time this guide was written, selecting more filters or using the custom fields would produce an empty data file so we are using ‘safe’ options here.

Data Here-to-There Inc. | Connecting Premier

6. Scroll down to the Schedule section and:

-Ensure that “Comma” is selected.  

-Under Zip file select “Yes”. 

 -For the file name please use “DH2T”.  

-The Premier FTP option must also be selected.Data Here-to-There Inc. | Connecting Premier

7. Once the above selections have been made press “Submit”.  You should then get the following confirmation with your account information.

Data Here-to-There Inc. | Connecting Premier

8. Open the “Slingshot Automotive” app and navigate to the “Settings” tab, then scroll down to “Premier” and click “Connect”

Data Here-to-There Inc. | Connecting Premier

9. Enter the Username and Password from step 7 into your Connection configuration.

Data Here-to-There Inc. | Connecting Premier

10. Click “Accept”

Share:

More Scribes

multi location inventory

Multi Location Inventory

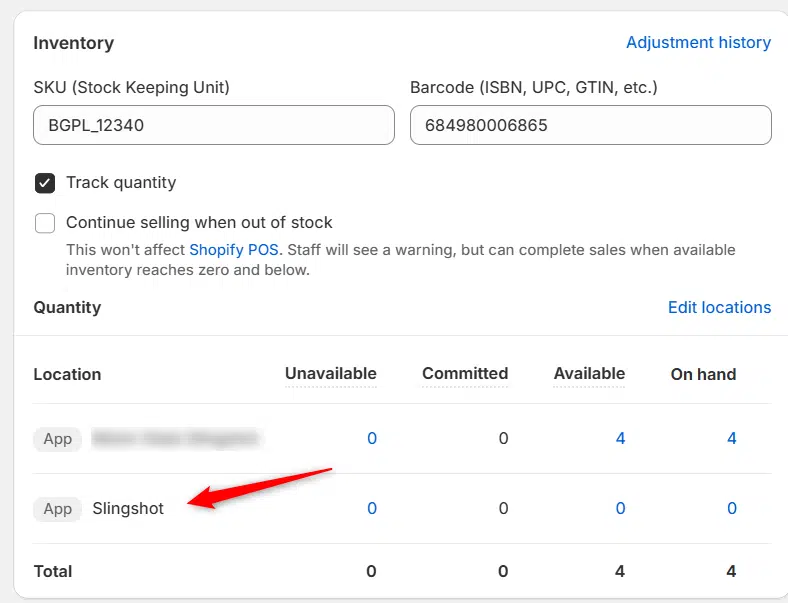
Previously we had all skus showing a single location called the “Slingshot App”, however we received a lot of requests
Create Parent collection in Shopify

Create Parent collection in Shopify

1. Click “Products” 2. Click “Collections” 3. Click “Create collection” 4. Click the “Title” field. 5. Enter the desired name

Add your Comment

Stay Connected

More Updates

Shopify Shipping Zones

Shopify Shipping Zones

In order to let customer checkout you must first have your Shipping zones set up in your Shopify settings. Basically all you are doing is
Universal Fitment Tags

Universal Fitment Tags

Per a customers request we added in a tag for universal fitment products to assist with filtering.  1. Click “Content” 2. Click “Enable universal fitment
Connecting The Wheel Group (TWG) Catalog

Connecting The Wheel Group (TWG) Catalog

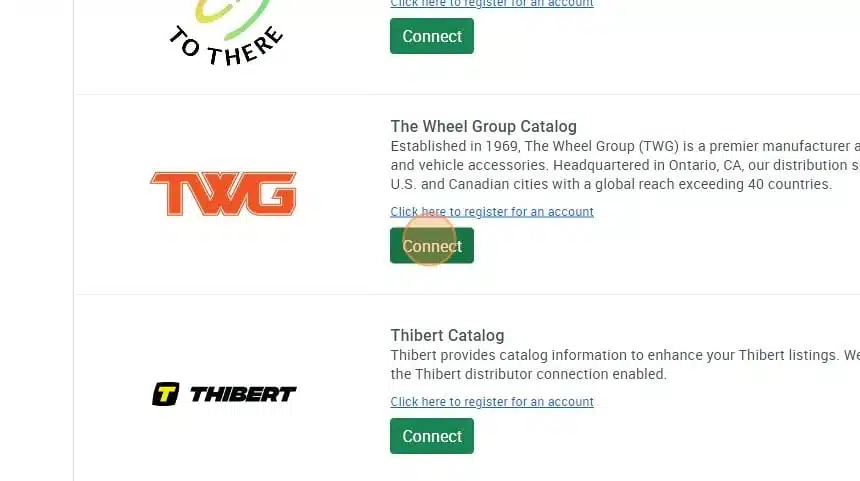
1. Open your Shopify store 2. Open the “Slingshot Automotive” app 3. Click “Settings” 4. Click “Catalogs” 5. Scroll down to “The Wheel Group Catalog”
Select your currency